Blog Examples for Beginners: How to Write Your First Blog Post
Many new bloggers struggle with creating their first piece of content. The key is to start with a simple, straightforward sample blog post that showcases your writing style and the topics you're passionate about.
Choose a subject you know well, create an outline to organize your thoughts, and then let the words flow.
Remember, your first post doesn't have to be perfect - the goal is to get comfortable with the writing process and share your unique perspective with the world.
Back in 2009, with fingers shaking, I hit publish on my very first blog post. I was fearful of what people would think. Would I get a negative comment? That left me with many questions.
It was hard enough figuring out how to start a blog, but now I had to find a way to share my thoughts consistently.
Would anyone find what I had to say valuable? Was I just contributing to the noise online? Did my message matter?
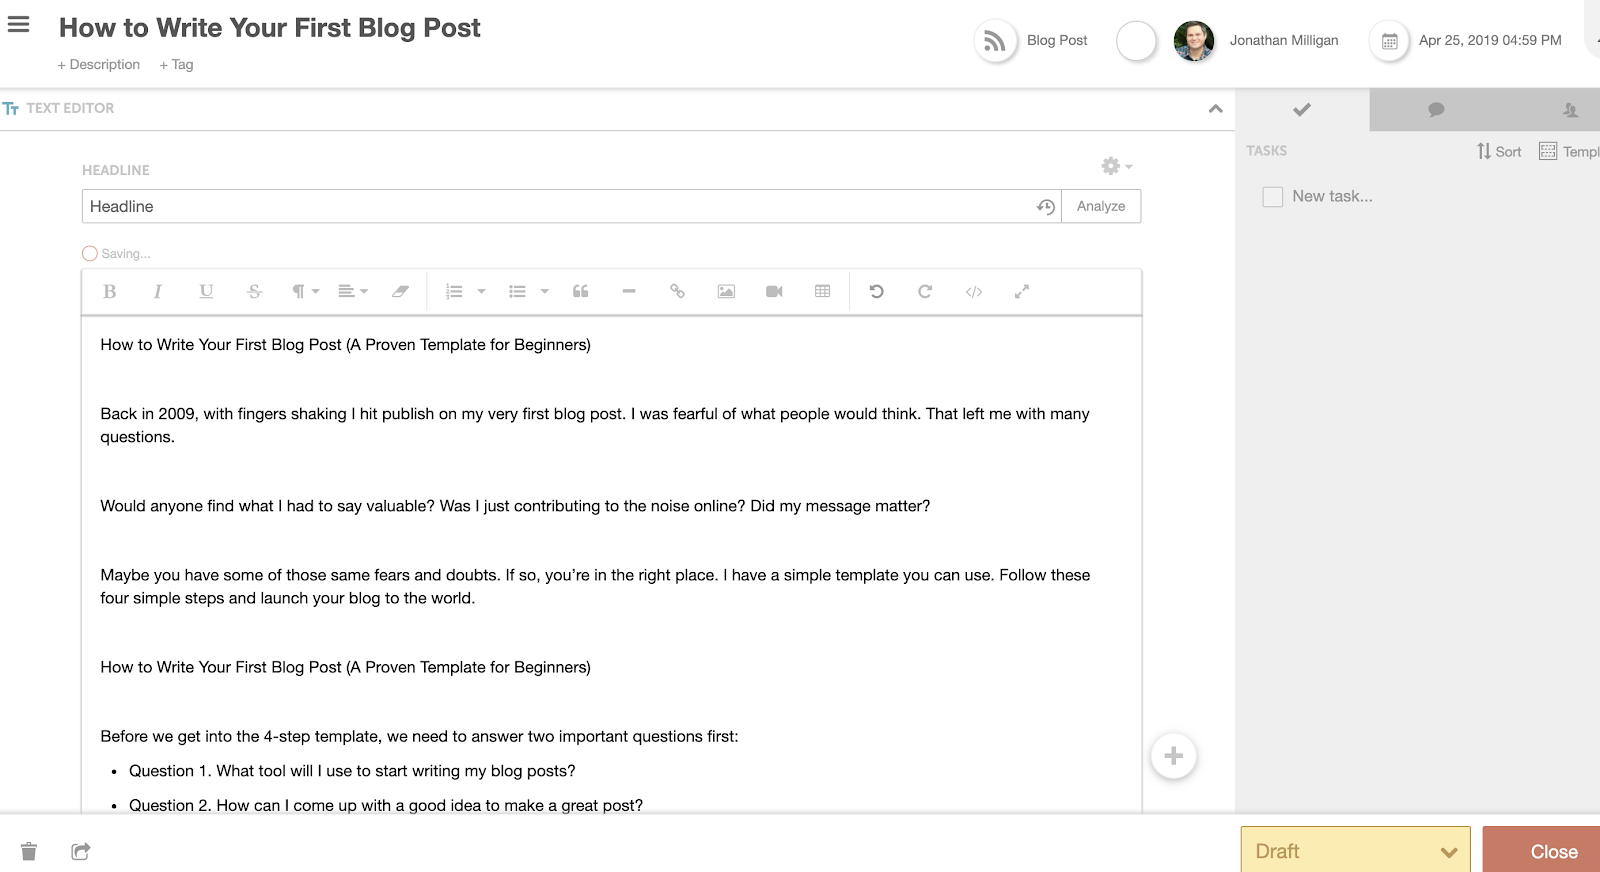
Maybe you have some of those same fears and doubts. If so, you’re in the right place. I have a simple first example of a blog post you can use. Follow these four simple steps and launch your blog to the world.
First Blog Entry Examples (with Template)
Before we get into the 4-step first blog post template, we need to answer two important questions first:
- Question 1. What tool will I use to start writing my blog posts?
- Question 2. How can I come up with a good idea to make a great post?
Where to Write Your Blog Posts
So, let’s talk about some blog writing tools you can use. It doesn’t matter where you write your blog posts as long as you have a simple repeatable process to follow. Here are six of my favorite writing tools.
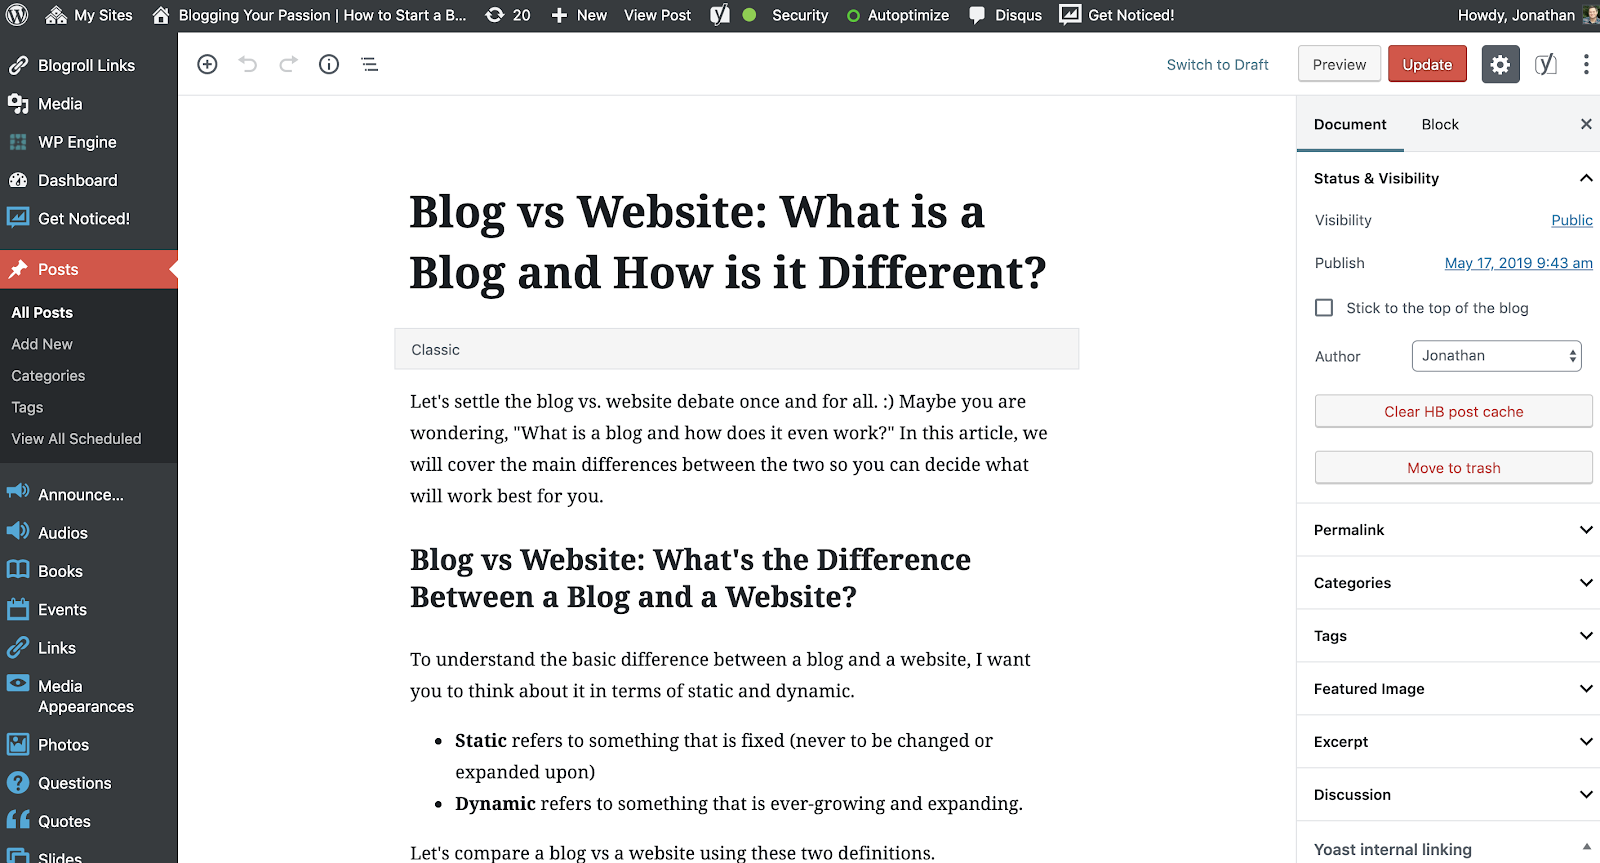
1. Directly in WordPress
If your blog is powered by WordPress, you can always write your blog articles there. It keeps things easy and less complicated for you. Regardless of which writing tool you use, you’re going to need to eventually copy it into WordPress. Since you are just getting started, WordPress might be the best tool to begin with.
2. Google Docs
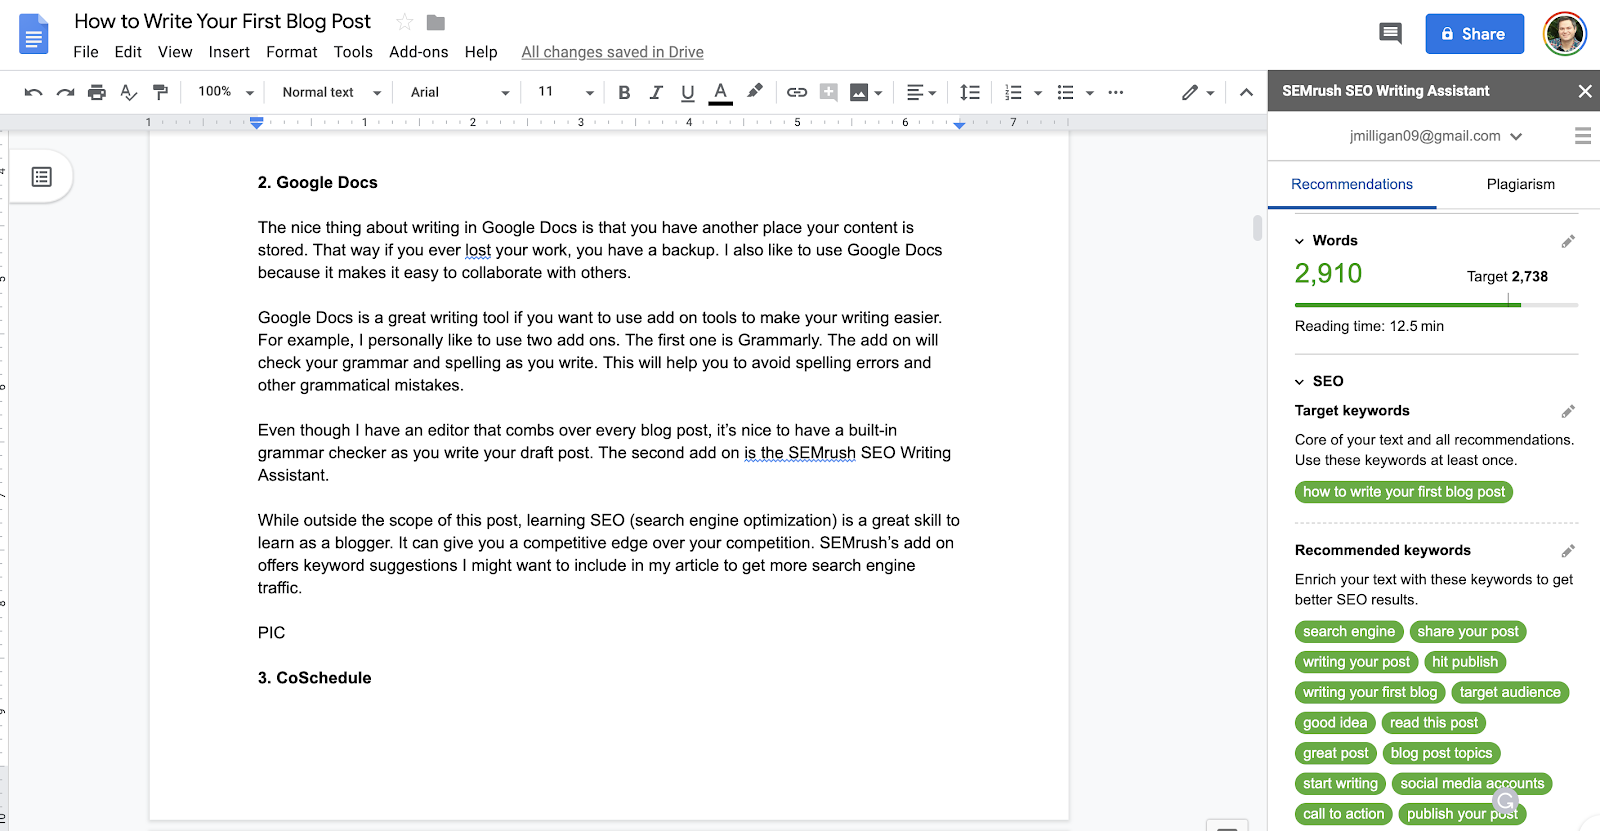
The nice thing about writing in Google Docs is that you have another place where your content is stored. That way if you ever lost your work, you have a backup. I also like to use Google Docs because it makes it easy to collaborate with others.
Google Docs is a great writing tool if you want to use add-on tools to make your writing easier. For example, I personally like to use two add-ons. The first one is Grammarly, which will check your grammar and spelling as you write. Even though I have an editor that combs over every blog post, it’s nice to have a built-in grammar checker as you write your draft post.
The second add-on is the SEMrush SEO Writing Assistant.
While outside the scope of this post, learning SEO (search engine optimization) is a great skill to learn as a blogger. It can give you a competitive edge over your competition. SEMrush’s add-on offers keyword suggestions I might want to include in my article to get more search engine traffic.
3. CoSchedule
I’ve been a fan of CoSchedule for a few years now. I even wrote a blog post review on my experience with it. Basically, it’s an all-in-one calendar for content, social media, email marketing, and more.
It can be a bit expensive for bloggers just starting out, but if you want to manage all of your projects in one place, it’s a great tool.
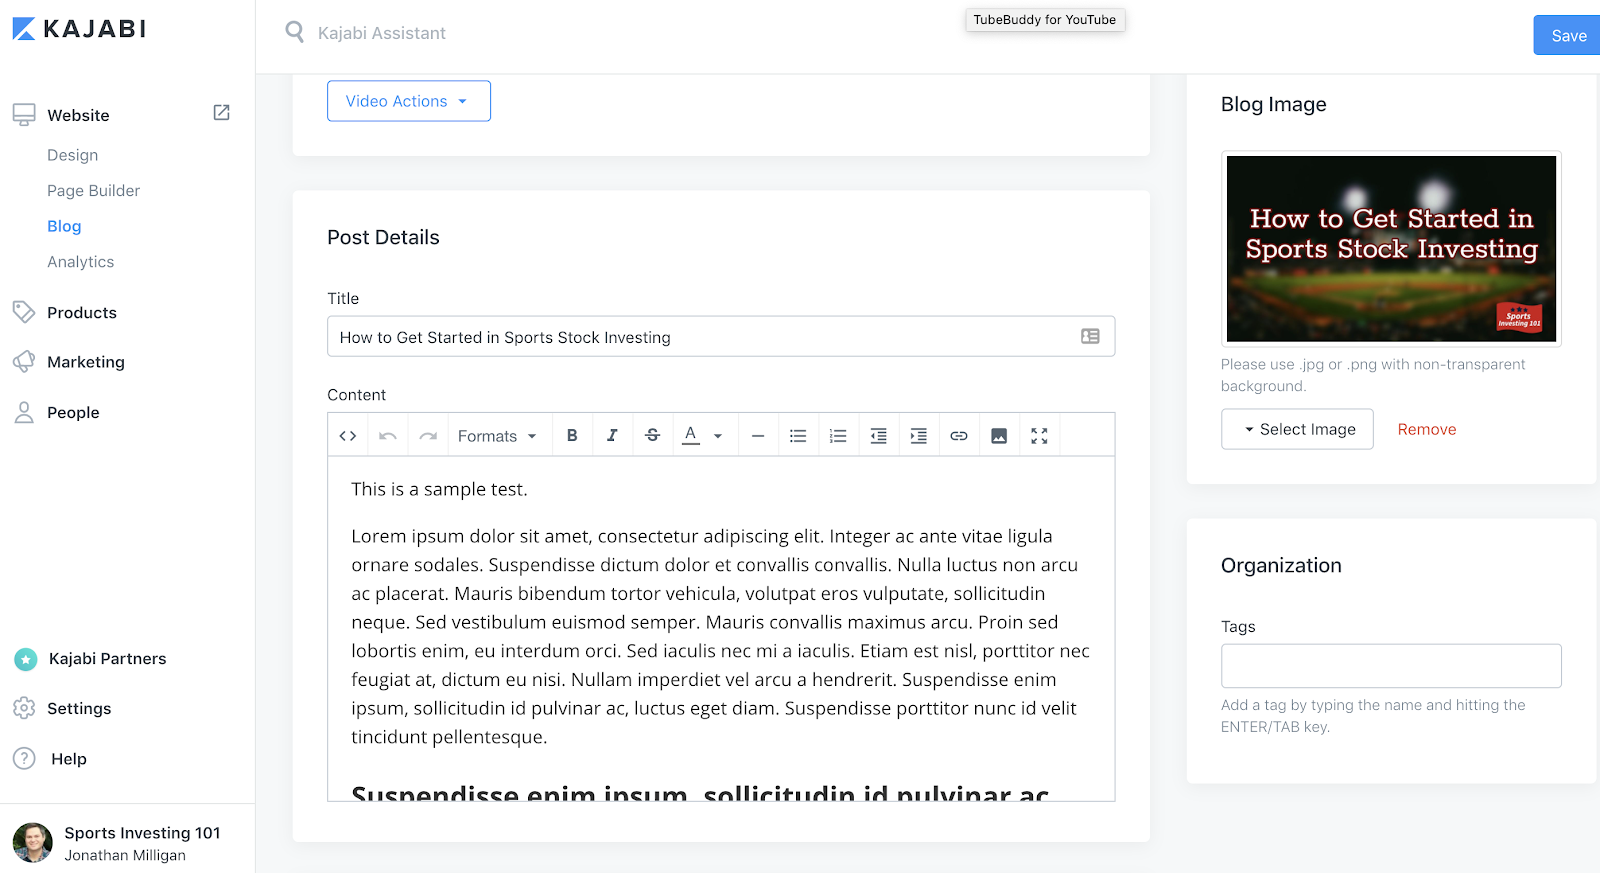
4. Kajabi
Have you heard of Kajabi? It’s not just a blog writing tool but has many other powerful functions to support your blog business. I primarily use Kajabi to host all of my online courses, membership site, landing pages, and online store. If you want to sell digital products and build a blog, you can do both with Kajabi.
Kajabi would replace your monthly hosting cost and WordPress. Blogging for beginners on Kajabi is pretty straight forward. As you can tell from the image below, you have a title and body section. Create your headline, write your blog entry, and hit publish.
5. Microsoft Word
This is the tool of choice for many bloggers when starting out. Most people are familiar with Word since it was the tool they used to write their papers in school. One word of warning: be careful about using copy and paste into WordPress. Sometimes the formatting doesn’t transfer correctly. Always paste your text into the text side (or HTML side) and not on the visual editor.
6. Evernote
Another popular writing tool is Evernote. The benefits of Evernote are two-fold. First, you can access it online and offline. If you are flying on a plane, you can work on your blog post even without internet access. Later, your document will automatically sync with the cloud.
Secondly, you can easily share it with others. Similar to Google Drive, you can share a link to your note or notebook in Evernote and collaborate together.

Remember this. Writing your post can happen anywhere. You can start with one of the six tools mentioned above, or go with your own. It comes down to personal preference. Whatever tool helps you be consistent with your writing is what matters most.
Blog Post Ideas for Beginners
Maybe your challenge is not where to do your writing, but what to blog about. Regularly coming up with blog post topics doesn’t have to be difficult. I believe your first blog post ideas should come from a place of passion.
Set a timer for five minutes. Write out as many answers as you can think of to the following series of questions:
- Why am I starting this blog in the first place?
- Who do I most want to help?
- What lessons from my own life can I share with others?
- What are the top three to five things someone should know in my niche in order to be successful?
- How will this blog help others?
The 4-Step Blog Post Template for Your First Blog Entry
Next you want to go ahead and write your blog sample. After working with thousands of new bloggers, I’ve created a simple 4-step template to help you write your first blog post fast. Let's explore how to write a blog post step-by-step.
Here are a few blog introduction examples that are my favorite:
- Step 1. Create a catchy headline
- Step 2. Write the outline before you start writing
- Step 3: Edit your blog post draft
- Step 4: Promote your blog post to the world
Step 1. Create a Catchy Headline
Post titles are super important for any blogger. Treat them like newspaper headlines. A headline on a newspaper makes or breaks the sale of that paper. Your headline should be catchy, interesting, and leave just a bit of curiosity.
When it comes to deciding on a headline, choose one of the following three strategies:
- The magic of list posts
- The power of “how-to” posts
- The blog announcement post
The magic of list posts. It’s been proven over time that we love lists. We want to know not only what’s on the list but what didn’t get included. We click on the headline because we know the article is scannable and we can see what is included in the list.
Here are a few examples you can use to create your own headline:
- 5 Quick Tips for __________
- 10 Things You Should Never Do When _________
- 5 Ways to __________ (without being pushy)
- 5 great things to do with __________
- 7 ways to be a ________ ninja
- 10 Reasons Not to _____
- 7 _____ Danger Signs
- 7 things _____ Should Never Do
- 21 Secrets the _____ Experts Don’t Want You to Know
- 10 ______ Facts You Need to Know
The power of “how-to” posts. Another strategy that will give you tons of blog post ideas is to cover the most important “how-tos” in your niche. Readers love practical posts that lead them to action. It feels like time well spent if I can take concrete action on something I just learned.
A few examples might be:
- How to recover from a _____________
- How NOT to get ____________
- How to Get _____ in Half the Time
- How to Beat the Fear of _____
- How _________ Will Save You Time, Money, and Stress
- How to clean ____________
- How to maintain _____________
- How to take care of _____________
- How to repair the __________________
The blog announcement post. The last strategy I want to share with you is a post you would typically only write once. This post will be a foundational article you will refer back to for years to come.
The two early strategies (list posts and how-to posts) are the formats I use 90% of the time week in and week out. You’re welcome to start with one of them to get your first post published if you would like.
The blog post announcement post is easy enough to write because it doesn’t require much guesswork. In a moment, I will share with you a simple writing outline you can use.
As far as a headline, go with something like: “How (name of your blog) Will Help You (insert the goal, promise or purpose of your blog).”
If you are still at a loss of how to create a catchy headline, then consider using the headline analyzer tool from CoSchedule. This tool will analyze your headline and give you a score. Don’t worry about trying to score a 100 on your headline. I usually try to get at least a 70.
Step 2. Write the Outline Before You Start Writing
Many aspiring bloggers are excited until it’s time to sit down and write. Why does it feel like all of my energy and creativity gets sucked about when it’s time to write?
See Post: 4 Proven Ways of How to Start a Blog Post
Other bloggers say they just want for inspiration to strike before they sit down to write. If that was true for me, I’d be waiting a long time.
Don’t wait till you feel like writing. Most writers I know don’t like writing, they like having written. There’s a big difference. Never forget the words of Harvard psychologist Jerome Bruner who said:
“You’re more likely to act yourself into a feeling than feel yourself into action.”
If you’ve successfully accomplished the last step of deciding on a headline, it makes writing much easier. The headline creates the outline for you. Once you’ve nailed down the outline, all that’s left is to fill in the text.
Let’s look at how to create an outline from each of our three examples above.
Create an outline for your list post. If you’ve chosen a list post headline, then you must first decide how many make your list. You can do as few as three or as many as 101. It really comes down to the purpose of the post.
I usually start by opening up my writing tool of choice and brainstorming as many examples as I can think of. Once I’ve created the list, I have my number and I have my outline.
Create an outline for your how-to post. If you decided to go with a how-to post, then the process will be slightly different. First, start with a beginner’s mind. It’s easy to skip a few steps because you think they are assumed.
We all have the curse of knowledge. We simply forget what it’s like to be a beginner.
When outlining a how-to post, you want to think in terms of steps. What’s the very first step I should take? Once I complete that step, what’s next? Repeat the same process until all of the steps are out of your head and on paper (or screen).
Now, you may end up combining steps and that’s okay. A how-to post will have a minimum of three steps. The maximum number of steps depends on the topic you have chosen.
Create an outline for your blog announcement post. If you chose option number three, then there is a specific format you should follow.
WARNING: Be careful not to make your first blog post about you.
Yes, you will be introducing yourself and maybe even sharing your story. But never forget that your blog is for others. You want to help, serve, or inspire.
The good news is that I already have an outline you should follow. The body of your blog post will include these subheadlines:
- State the goal of your blog
- How this blog will help
- Who you are
The opening of your blog post should state the goal of your blog. Why are you starting this blog in the first place? Is there a mission or cause behind your desire to start this blog?
Next, talk about how your blog will help the reader. What are some of the specific ways you plan to help others? Will you be publishing a weekly blog post? Will you launch a podcast? Will your blog include videos?
Finally, fully introduce you and your story. Always remember that you are not the hero of the blog. Your target audience is the hero. You are just the guide. Because of that, we don’t lead by touting our credentials or why we are qualified to help.
Still, people will want to know who is behind the blog so feel free to share your story. But lead with serving and helping first.
Once your outline is ready, just focus on writing a paragraph or two for each point in your outline. Once you do, you have a rough draft ready to go. Now, it’s time to edit.
Step 3. Edit Your Blog Post Draft
Blogging is a different way of writing than when you were in English class. It’s more conversational for starters. Also, we break a few of the rules along the way.
Follow this list of basic guidelines and you’ll be a pro in no time:
- Use bullets – My number one tip is to break up your content to make it easy to consume on the computer or mobile device.
- Subheadings – We already covered this in the outline section, but add lots of subheadings
- Short sentences – Keep your sentences short. Enough said.
- Short paragraphs – Notice how many of the paragraphs in this blog post are two or three sentences, max. Make your content easy to scan.
- Relevant Images – Add images to your post to make it more engaging
- Look for grammar errors – I like to use Grammarly to help me with my grammatical construction.
- Add a call to action – Add ways for readers to join your email list sprinkled throughout your blog posts.
- Publish your post – Get your blog post out to the world! Don’t worry about mistakes! You can always come back and fix them later.
Step 4. Promote Your Blog Post to the World
Once your post is live, it’s time to share your post with the world. I know this can be a scary feeling when first starting out.
My best tip is to not focus on yourself, but focus on how your blog will help others.
An ideal place to start is social media. What social media accounts are you already using? Share your blog post there first. Remember, you can do it in a non-pushy way.
If you’re not sure what to write, a have a sample script below you can use:
“Hey friends, I’ve decided to start a blog with the goal of helping others. I’ve just published my first post!
It would mean the world to me if you would click the link, read this post, and then come back here and share your thoughts with me. Thanks!”
Now, you don’t want to hit up your social media newsfeed daily to push people over to your blog post. We want to be helpful, not annoying.
You can also enlist some friends to help get the word out. Come up with a list of 10-20 friends who you would consider to be supportive. Be sure this list includes friends and not just acquaintances. Otherwise, this exercise will not work.
Send them a message on Facebook Messenger. Let them know you recently launched a blog and it would mean the world to you if they would share it on social media.
To make this easy for them, you’ve already typed up a script they can post. It goes like this:
“Hey, guys! My friend Sally, just launched a blog designed to help overwhelmed moms claim back control of their lives. You should check it out here: LINK”
The point of all of this is to get referral traffic to your site. They have friends you don’t have. They can reach people you cannot reach.
Blog Writing Examples
Congrats on getting your first blog post published! Would it be helpful to see a few blog writing examples? Let’s take a look at a few first blog post examples.
Example #1: CPA Career Coach
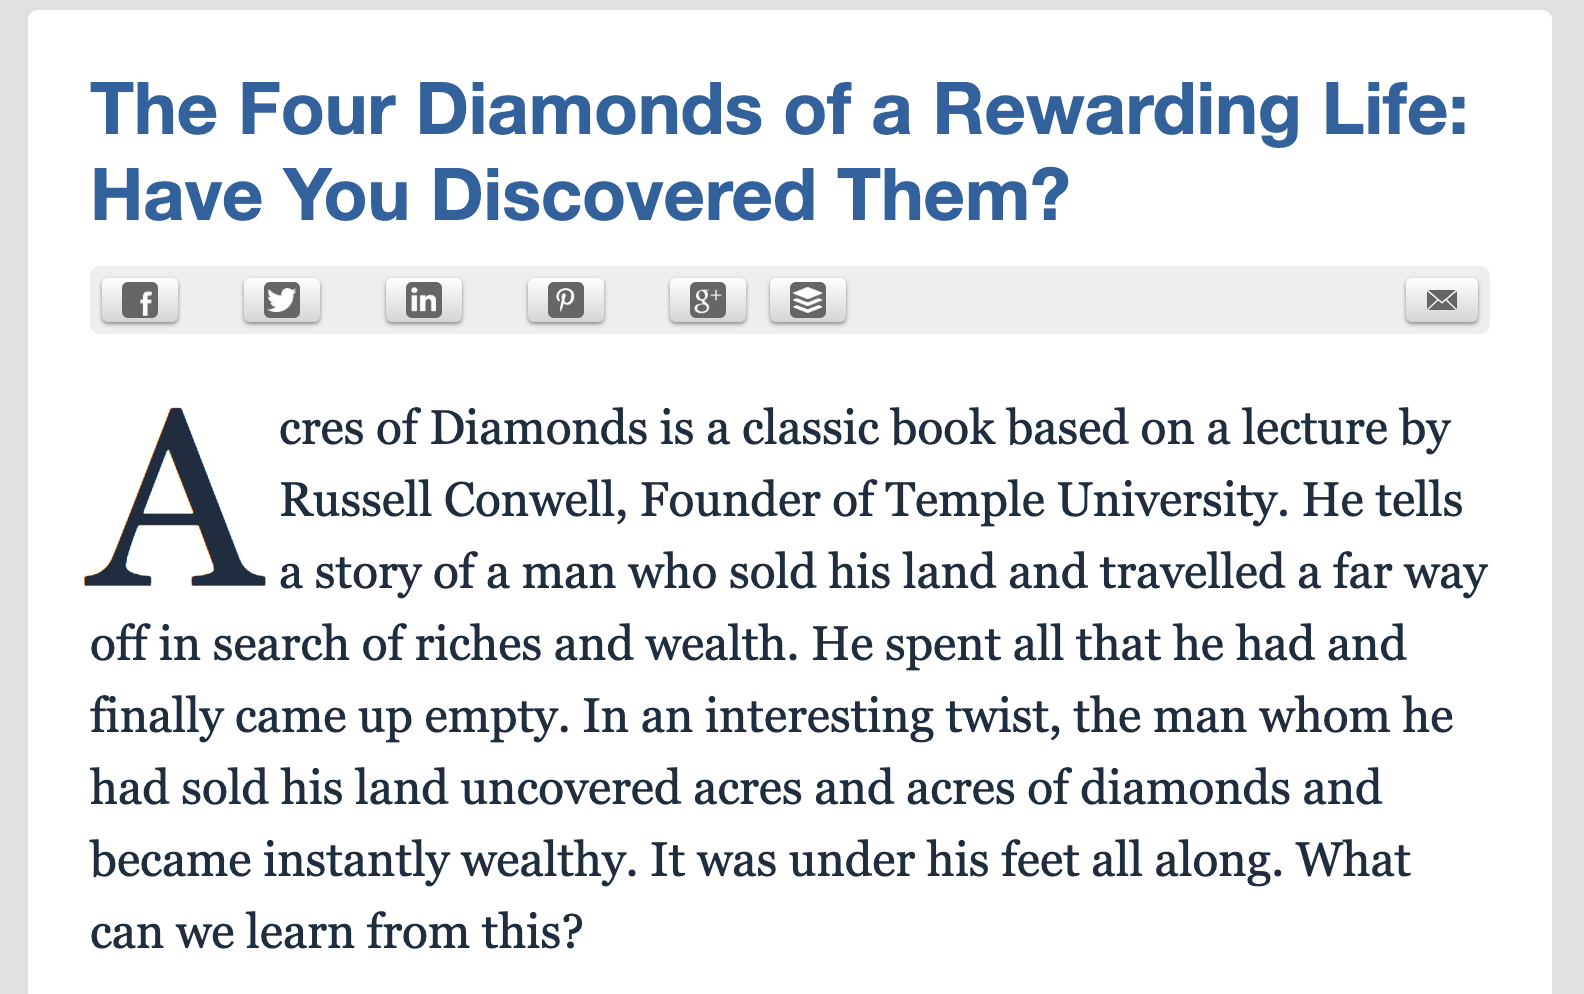
My first blog was launched in 2009 and it was designed to help accounting and finance professionals find meaning in their work. My first post had three parts.
Part 1. An Opening Story
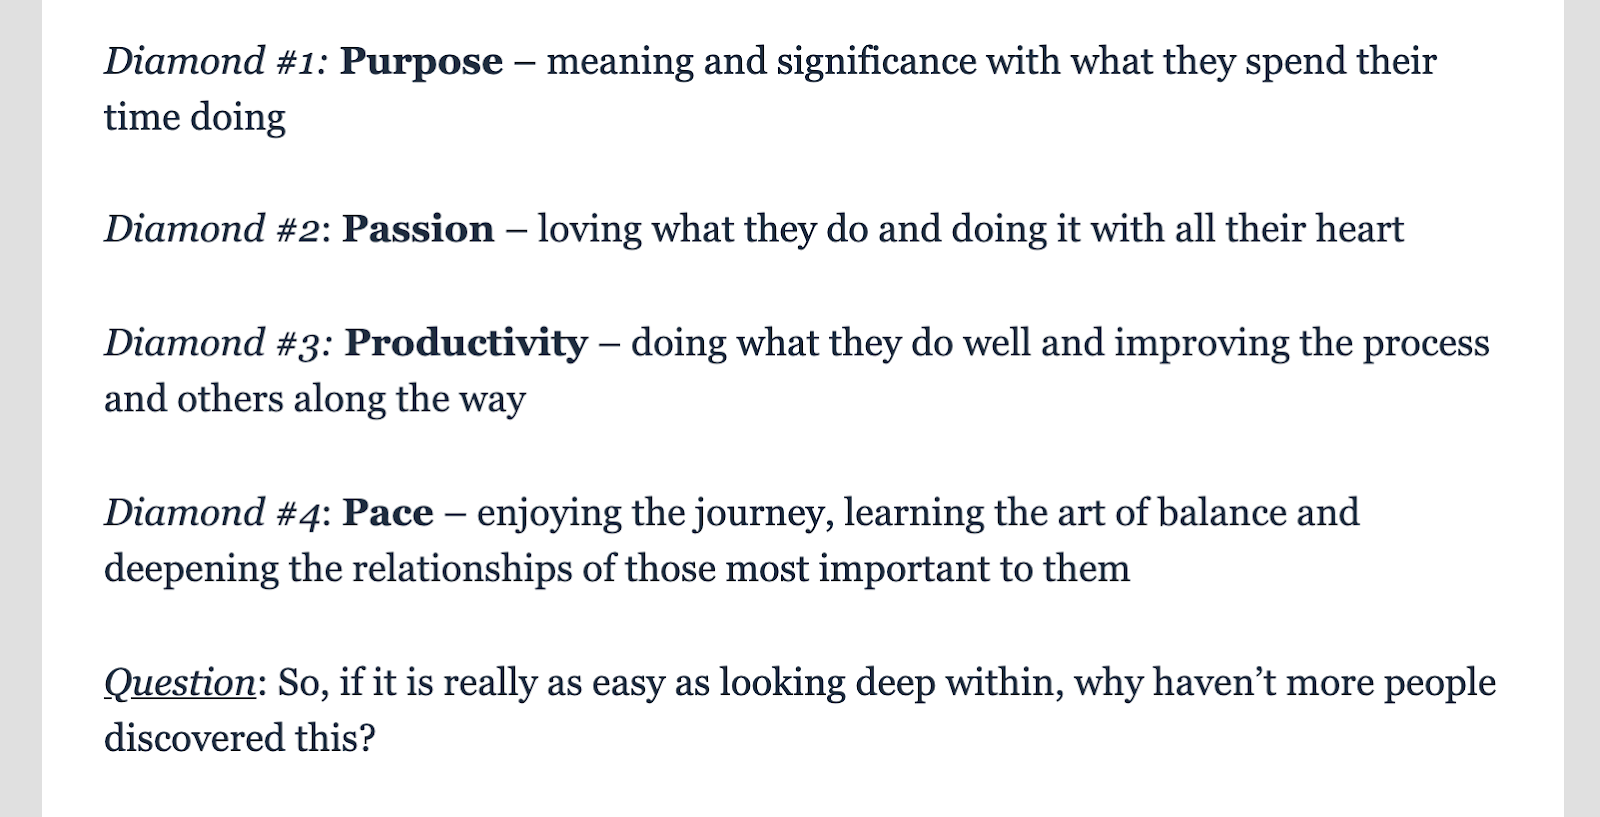
Part 2. The List Post Outline (4 Major Points)
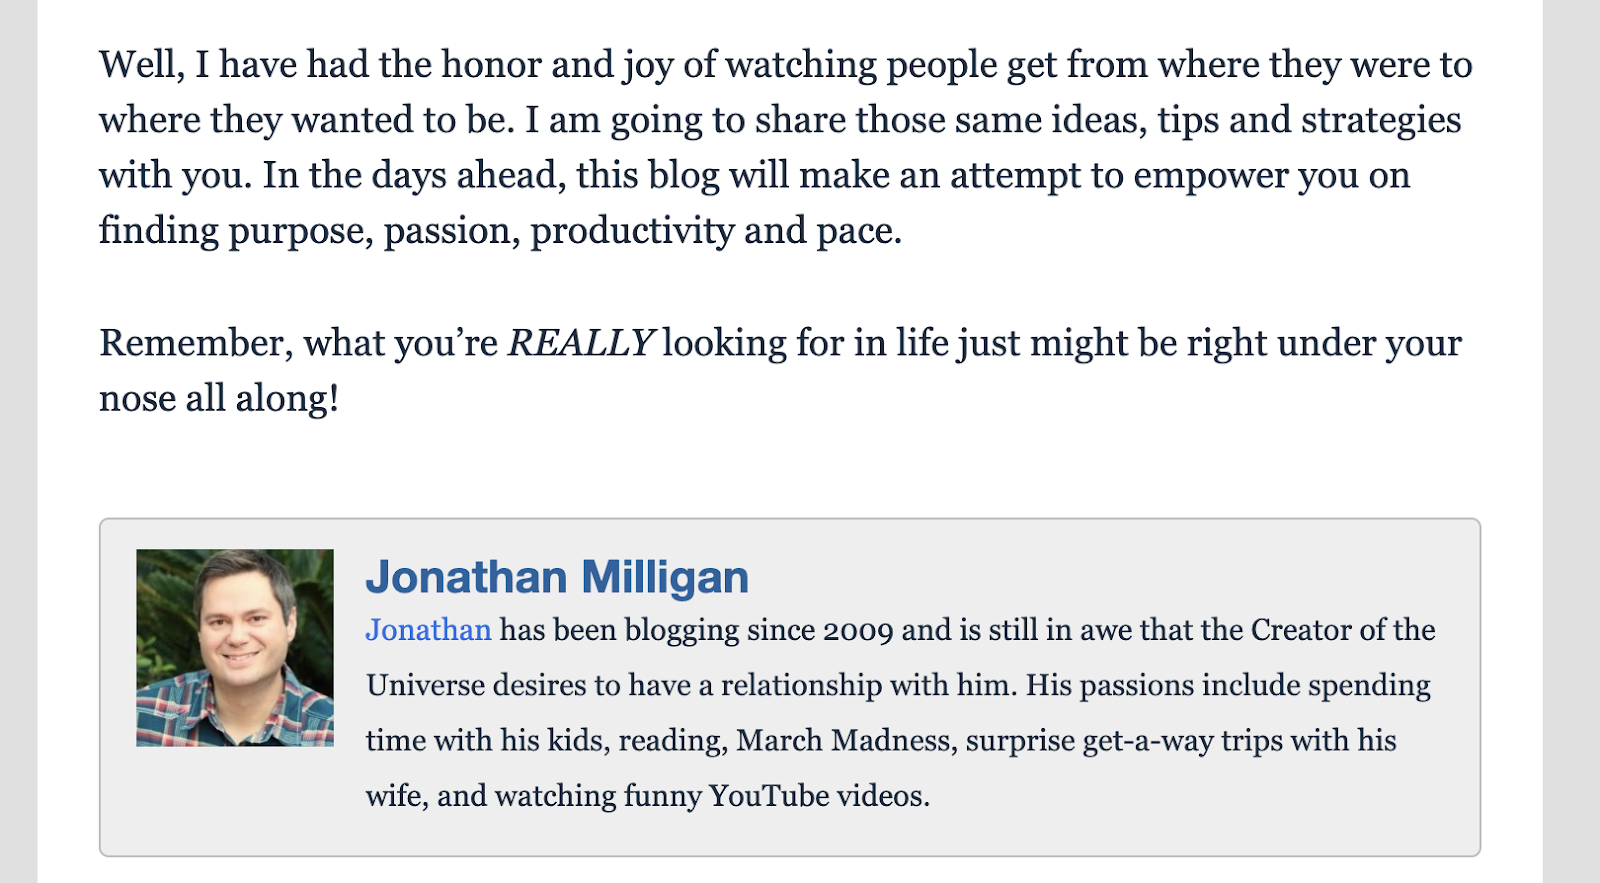
Part 3. How This Blog Will Help You & Who I Am
Let’s take a look at one more example.
Example #2: Personal Branding Blog
A few years later, I launched JonathanMilligan.com. The goal of the new blog was to help people discover their purpose and be more productive. Here’s the outline I used:
Part 1. Who This Blog is For
Part 2. How This Blog Will Help You
Part 3. Who I Am
Frequently Asked Questions
What are some blog post examples for students?
Here are some blog examples for students that could be great for students to write:
- A day in the life of a student, documenting your typical schedule, classes, extracurriculars, and study habits.
- Your biggest challenges as a student and how you've worked to overcome them, sharing strategies that have helped you succeed academically and personally.
- A review or analysis of something you've studied recently that fascinated you, like a book, historical event, scientific concept, or work of art.
- Reflections on a meaningful volunteer, work, research or travel experience and what you learned from it that ties into your studies and future goals.
These are just a few blog writing examples for students you could use.
What are some personal blog examples for beginners?
Here are a few personal blog post ideas that are great for beginners:
- An introduction post sharing some interesting facts about yourself, your background, hobbies, and why you decided to start a blog.
- A post about a recent memorable experience like a trip, event, or personal accomplishment, including photos and key details.
- A list-style post compiling your favorite books, movies, recipes, productivity tips, or anything else you're passionate about.
- A reflective post discussing a challenge you've faced, lesson you've learned, or aspiration you have for the future and your personal growth.
Final Thoughts
There you have it! You should now be well on your way to blogging your passion and sharing your message with the world. You got this!